Integration
Introduction
The Mulberry Shopify app makes it extremely easy to get up and running with a best in class warranty program. Simply installing the app in your store is usually enough to begin making passive revenue almost immediately.
Onboarding
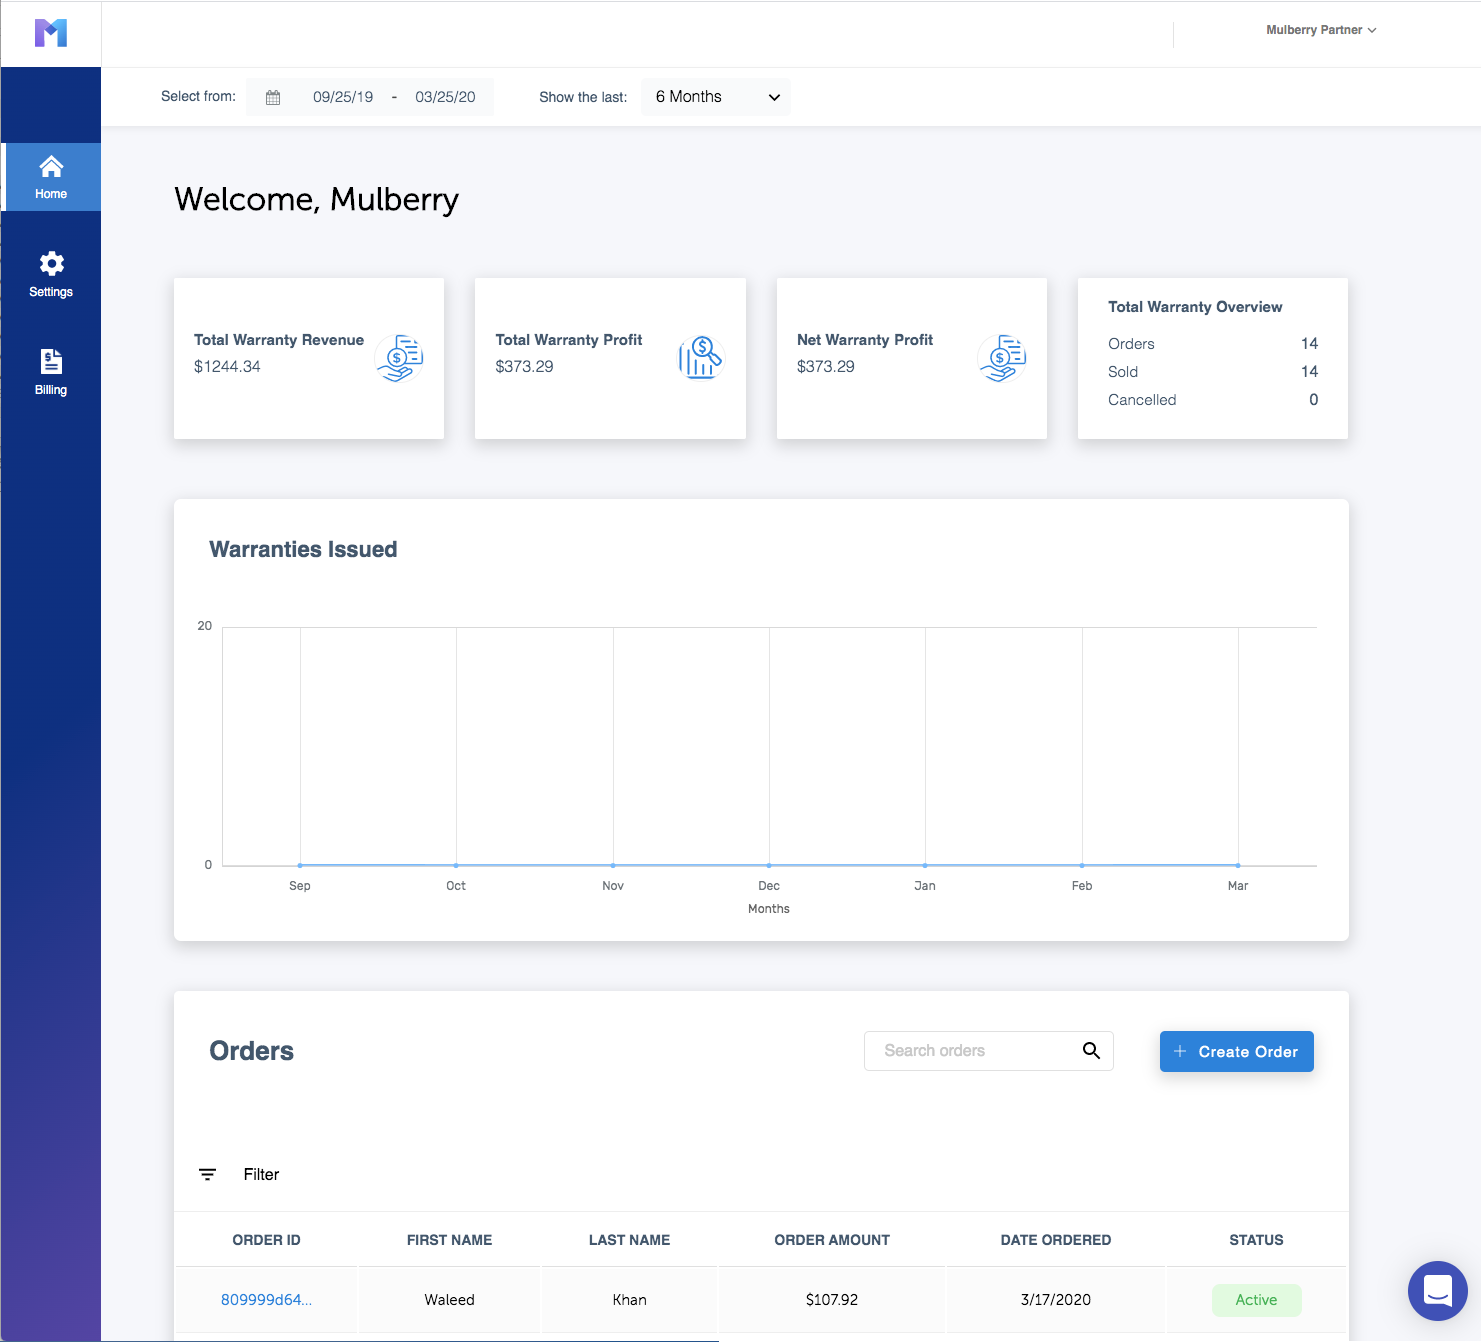
After choosing to install Mulberry, you'll be walked through a set of onboarding steps so we can get to know your business better. After the onboarding process is complete, you'll be logged into your Partner Dashboard. Once there, it's required that you complete the steps found below.

Connect your Bank Account/Credit card
As a retailer, you're only responsible for making payments to Mulberry for the warranties you sell. We currently support making payments both via bank account and credit card. To add an account, Click the billing icon in the left hand nav.
Enable the Mulberry service
After the onboarding process is complete you'll be logged into your Partner Dashboard. The Mulberry service by default is turned off. You must enable it to begin showing offers. Click the gear/settings icon in the left nav. Then select the "Settings" tab as seen below.
Configure offer types and placement
Mulberry has two "modes" which it can use to insert warranty offers into your product page. These are known as "automatic" and "manual".
Automatic
Automatic mode intelligently attempts to insert the offer(s) into your theme. Most of the time this works out just fine, especially on Shopify sanctioned themes. In the event this is not enough, Mulberry offers a more custom 'manual' mode as seen below.
Manual
Manual mode allows you to specify which DOM element to insert the inline offer into as well as to help Mulberry locate your "Add to cart" button. You can use an existing DOM element or you can insert a new one. For more information on how to edit your theme to insert these elements, visit the Shopify Custom Integration section.
Updated 8 months ago
